Tour review · BUDAPEST
Budapest Photo Walks
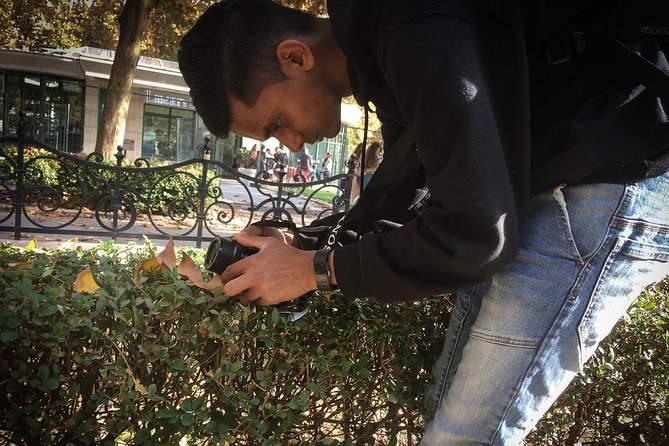
Budapest looks different when you control the frame. This photo walk gives you a custom route through the best-view areas, with a tripod and help dialing in shots in real time. You can do it in daylight or at night, and the plan adjusts as the city and weather do.
What I like most is the day vs night choice, so you can match your mood and your camera. I also like that the guide can teach basics like composition and camera settings if you need it, not just point you at a view. One thing to plan for is that it is still a walking shoot, and the itinerary can shift based on fitness and weather, especially around the hillier parts.
Key points before you shoot
- Small group of up to 2 travelers, which usually means fewer bottlenecks and more time at each spot
- Tripod included, a big deal for night photos and steady compositions
- 2 to 3 hours with a flexible route, so you can spend longer where your shots are working
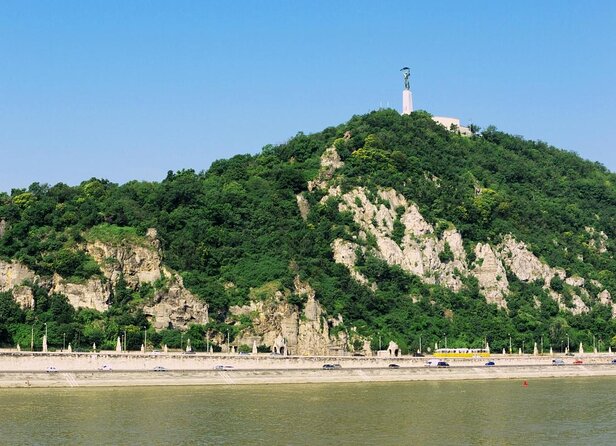
- Daytime and nighttime options, including Gellert Hill for both moods
- Off-the-beaten-track viewpoints, not just the obvious selfie stops
- Beginner-friendly coaching, with a guide who can explain settings and technique clearly
Before the plan settles, compare this with a few more ways to spend time around Budapest.
- Budapest: City Highlights Cruise with Welcome Drink★ 4.6 · 35,610 reviews
- Budapest: Unlimited Prosecco, Beer and Aperol Spritz Cruise★ 4.8 · 25,310 reviews
- Budapest: Széchenyi Spa Day Ticket with Optional Upgrades★ 4.3 · 23,911 reviews
- Budapest: Nighttime or Daytime Sightseeing Cruise★ 4.2 · 21,062 reviews
Why this photo walk works better than roaming
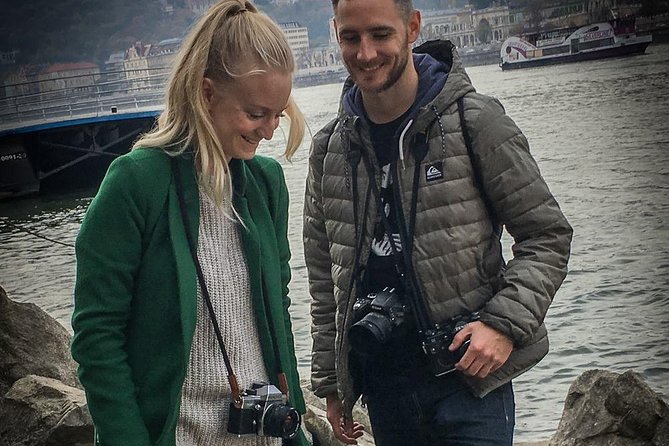
Budapest is famous for photos, but most people do the same route, at the same time, with the same results. This walk flips the focus. You are not just sightseeing, you are building images step by step, with a guide who helps you notice lines, angles, and lighting.
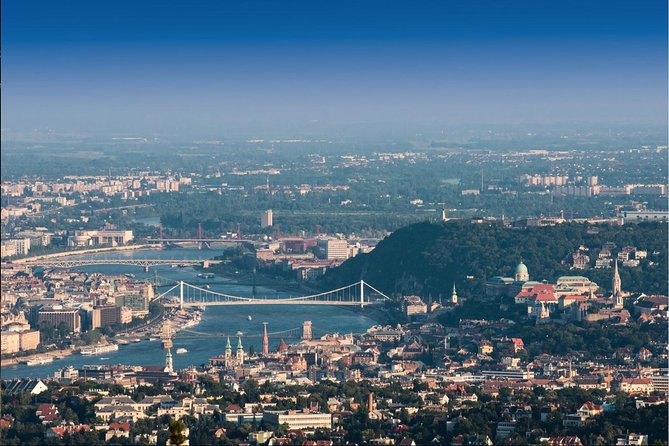
That matters because the city rewards attention. Think about how the river bends, how bridges cut across the skyline, and how the hillside views open up in layers. When someone shows you where to stand, and then helps you adjust your framing, your photos stop looking like snapshots and start looking intentional.
Price and value, especially for night photography
The cost is $179.74 per person for a 2 to 3 hour experience. That can feel steep until you look at what is included and what it replaces.
You are getting:
- A guided route through multiple major viewpoints
- A tripod included
- Coaching on composition and camera settings if you want it
- A plan that can be customized around your fitness and interests
If you are the type who wants a few great shots (not 200 average ones), this can be good value. Also, night photos in Budapest often need steady support, and that included tripod removes one of the biggest friction points. You do not have to rent anything, and you can spend less time fiddling and more time photographing.
Group size and the pace you’ll actually get
This is capped at 2 travelers max, so you can usually expect a more personal pace than a big group tour. The tour is also described as customizable, which means you can ask for extra time at a stop or swap in different angles, as long as it fits the overall flow.
The other practical thing is that it runs in a set window, Thursday through Sunday from 10:00 AM to 6:00 PM. That helps you plan a daylight version or a night version without guessing wildly. If you are hoping for a specific time, it helps to book early since this tends to be reserved about 46 days in advance on average.
Meeting at Batthyány tér, then a route that adapts
You start at Batthyány tér (HBudapest 1011 Hungary) in front of the metro M2 station. The ending point is agreed with you at the beginning of the tour, even though the experience lists Batthyány tér as both start and end.
That means you should expect a real-world flow: you begin at a clear transit landmark, then you finish where it makes sense based on the day’s plan. It is also a good sign that it is near public transport, because you are not forced to arrange a private ride just to start.
One more note: private transportation is not included. So plan to get yourself to the meeting point on your own, then let the guide handle the walking path between photo stops.
- Budapest: City Highlights Cruise with Welcome Drink
★ 4.6 · 35,610 reviews - Budapest: Unlimited Prosecco, Beer and Aperol Spritz Cruise
★ 4.8 · 25,310 reviews - Budapest: Széchenyi Spa Day Ticket with Optional Upgrades
★ 4.3 · 23,911 reviews - Budapest: Nighttime or Daytime Sightseeing Cruise
★ 4.2 · 21,062 reviews - Budapest: 1-Hour Evening Sightseeing Cruise with Drink
★ 4.5 · 8,330 reviews
Stop 1: Gellert Hill, your day and night anchor
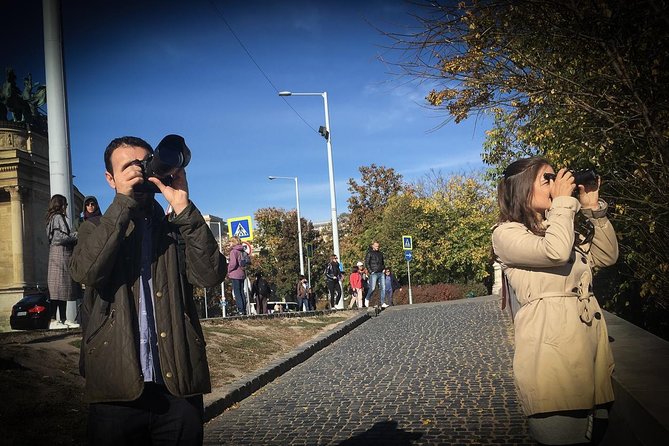
Gellert Hill is the centerpiece. You can cover 4 to 5 main view points there depending on your requests and your fitness level. You typically get around 15 minutes per general stop block in the itinerary outline, but the real time you spend can stretch or shrink based on what you want to shoot and how conditions are behaving. Weather matters here, because it can affect visibility and even comfort on the ground.
Why this stop is worth the effort
- You get big, layered skyline views that work for both wide shots and tighter compositions.
- The guide can help you pick viewpoints away from the busiest angles, so you spend less time fighting for position.
- Since Gellert Hill works for both the day tour and the night tour, it gives you a “same location, different results” lesson in how light changes your photo.
Day version vibe: You tend to get cleaner detail, plus an easier time experimenting with composition without low-light limits.
Night version vibe: You can lean harder into long exposures and steadier framing because you have the tripod. That is where tripods stop feeling like a hassle and start feeling like a cheat code.
Stop 2: Castell de Buda with Chain Bridge views at night
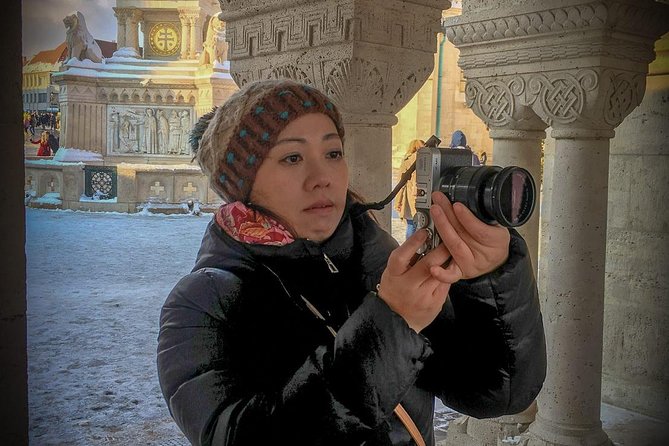
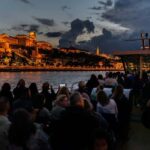
Castell de Buda shows up only on the night itinerary. The focus is the view direction that includes the Chain Bridge, with the stop positioned around the roundabout area.
You get about 15 minutes at this stop, but the bigger value is what the guide does with that time. In low light, tiny changes in where you stand can make a huge difference, especially when you are trying to line up bridge lights and skyline shapes.
If you like night photography, this is the stop that often feels the most “Budapest at night” in one frame. If you prefer daylight, skip it and focus on Gellert Hill and the bridge angles that are available both ways.
Stop 3: Liberty Bridge framing Gellert Hill
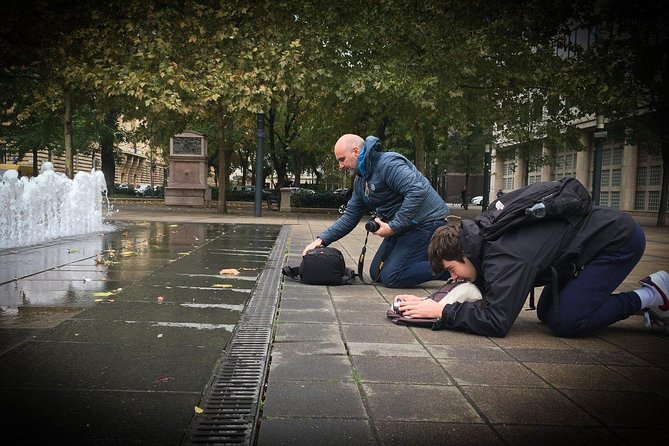
Liberty Bridge (Szabadsag hid) is one of the best “connector” stops. You get roughly 20 minutes, and it is built for views that include the bridge plus Gellert Hill in the background.
This pairing is useful because it lets you photograph multiple layers at once:
- The bridge structure gives you strong geometry.
- Gellert Hill adds depth and a recognizable silhouette.
- Together, they create images that feel like a real Budapest story instead of a single landmark photo.
It is included in both the day and night tour, so you can choose how dramatic you want the scene to feel. Daytime can help you focus on angles and lines. Nighttime can turn the bridge into a lighting pattern you can compose around.
Stop 4: Batthyány Square and the Parliament in frame
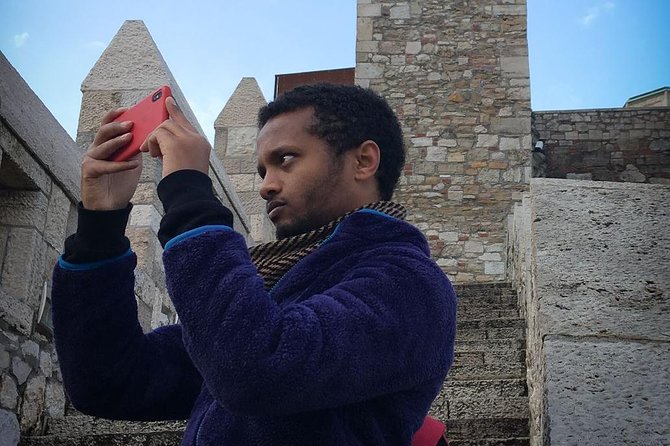
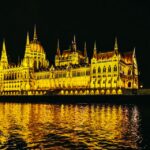
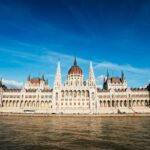
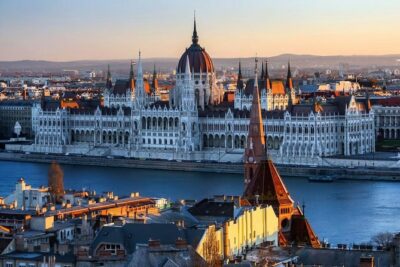
Batthyány Square is the classic photo target. You get a classic Parliament view, and it is included in both the day and night tours.
You have about 15 minutes in the itinerary outline, but it is the kind of stop where you can quickly discover what works for your camera and your style:
- If you want a clean, symmetrical composition, you can try for that.
- If you want a more dynamic shot, you can adjust your position and framing to capture the surrounding angles.
Also, because this stop is part of both day and night, it becomes a good “final test.” If your first few shots were good but not perfect, you can fix common issues like horizon tilt or messy framing before you call it a day.
The guide coaching: composition, settings, and clarity from Zoltan
A standout here is the teaching style. One name comes up clearly in feedback: Zoltan. The common thread is that he is patient and explains photography in a way that makes sense, whether you are learning basics or tightening up your technique.
What you can expect the guide to focus on:
- Composition so your photos look planned, not accidental
- Camera settings if you want help (especially helpful in low light)
- Where to stand so you are not stuck with the same tourist angles
- Practical adjustments based on your equipment and your comfort level
Even if you consider yourself a confident photographer, having a guide talk through composition choices is a fast way to improve. It also helps you avoid wasting time at a view point that you might otherwise photograph the same way you always do.
Off-the-beaten-track viewpoints, without losing the big sights
The itinerary covers iconic areas, but the value is not just that it includes famous landmarks. The walk is designed to help you find angles away from crowds, so your photos have breathing room.
That is a real advantage in Budapest. Famous viewpoints can be gorgeous, but if you are trying to photograph lights, lines, or symmetry, crowds can ruin your timing. When you have a guide who knows alternate vantage points, you gain more chances to get clean frames.
Customization and weather: how the route actually behaves
The route is customizable, and the actual itinerary depends on weather and fitness. That means you should treat the stop list as a menu, not a rigid script.
A practical way to use this:
- Tell the guide what you want most, wide skyline shots or bridge framing, and what your camera can handle.
- If you are feeling strong, ask for extra minutes at Gellert Hill where multiple viewpoints are possible.
- If the weather turns, accept that the plan may adjust, and focus on the angles that stay workable.
This is also why the experience lists itinerary variation. On a clear day you might shoot more angles and spend longer. On a rainy or windy night, your time might compress, or you might shift where you stand to keep things safe and visible.
What to bring for a 2 to 3 hour photo walk
Because the tour includes a tripod, you can travel a bit lighter than you would for many night shoots. Still, you should bring the basics:
- Your camera and any lenses you like for wide scenes and detail shots
- A fully charged battery and enough storage space
- Comfortable shoes, since you are walking between multiple viewpoints
- Layers for day or night, since Hungary weather can shift quickly
If you have a phone camera only, you can still benefit from composition guidance. The tripod part might be less useful for phones, but the standing positions and framing advice still matter.
Who this photo walk is best for
This works especially well if:
- You want fewer, better photos instead of a long list of sightseeing stops
- You are learning photography basics and want someone to explain composition and settings
- You enjoy night photography and want steady shots without renting gear
- You like guided routes that still allow flexibility
It may be less ideal if you want a fully seated, no-walking tour. This is a walking experience, and Gellert Hill in particular can be demanding depending on your fitness.
Should you book Budapest Photo Walks?
If you want iconic views plus real photo help, I think this is a strong choice. The combination of tripod included, day or night options, and coaching from Zoltan makes it practical for beginners and still useful for experienced shooters who want better framing fast.
Book it if:
- You care about composition, not just collecting landmarks
- You plan to shoot at night and want steadier results
- You value small group pacing, up to 2 travelers
Skip it if:
- You only want casual sightseeing photos and do not want to think about settings or framing
- You are unwilling to walk a route that can vary with weather and fitness
If you do book, pick your day or night session based on what you want your photos to feel like. Day can help you get shape and clarity. Night can help you get mood, lights, and motion, with the tripod doing real work for you.