
Tour review · BUDAPEST PHOTOGRAPHY TOURS
Street photography with your smartphone, tour of Budapest
Budapest turns into a photo lesson fast. I like how this street photography tour pairs smartphone guidance with real, walkable photo stops, and it’s led by Luigi Cantel, who keeps things friendly even if you feel lost with your camera. You also get standout value from the drone portion, so your journey is shown from above, not just from street level.
I also like that the pacing works for small groups, and if you’re traveling solo, you can join in without feeling pushed into a big crowd. One possible drawback is that it’s a set route with several photo stops, so you’ll want to be comfortable walking and shooting at specific times, with the starting time adjusted based on the weather.
Key moments worth your camera time
- Luigi Cantel’s smartphone tips that focus on getting the shot, not memorizing gear
- Hidden or lesser-known angles you might not find on your own during a first visit
- Drone photos and footage of you as part of the tour story, not a separate add-on
- A practical route from Liberty Bridge to Central Market Hall, Kalvin Square, and Bikás Park
- Lightroom editing help at the end, using the free app on your phone
More places to frame Budapest well
- Private photography photo session at Fisherman Bastion★ 5.0 · 269 reviews
- Budapest photoshoot&sightseeing★ 5.0 · 107 reviews
- Budapest: Walking Tour and Photoshoot with Digital Photos★ 4.7 · 82 reviews
- Budapest: Vacation Photographer to collect great memories★ 5.0 · 49 reviews
Street photography on purpose in Budapest
If you’ve ever wandered around Budapest with your phone and thought, I’m seeing a great view, why don’t my photos look like it, this tour is built to fix that feeling. It’s not just sightseeing. It’s a guided practice session where you learn how to notice light, frame people and buildings, and make small choices that change the whole photo.
Budapest is perfect for smartphone street photography because the city gives you contrasts all day long. Bridges, markets, square corners, and transit areas all create strong lines and easy compositions. The trick is knowing what to point your lens at, and when. That’s exactly what Luigi helps you do, step by step.
The tone is also very human. The reviews I’m drawing from highlight patience, clear explanations, and help for people who don’t know much about their camera settings. You won’t need to be a “photographer type” to get results.
Meeting at Fővám tér 5, and how the tour starts moving
You’ll meet at Fővám tér 5, right in front of Starbucks. Starting here is convenient because it keeps the route central and walkable, and it also sets you up for the first big subject of the day: the river area.
The tour is designed for small groups and can work for individuals too. That matters because street photography is easier when someone can check your framing quickly and suggest a change before you miss the light. It also keeps the group from turning into a slow, tangled line of tourists.
One more thing I appreciate: the tour is listed as wheelchair accessible. If you have mobility needs, you’ll still want to ask how the route feels for your specific chair or walker setup, but it’s clearly planned with accessibility in mind.
Liberty Bridge stop: photographing the Danube without overthinking it
Your first photo stop is at Liberty Bridge for about 20 minutes. This is the “big view” portion of the route, and it’s where you can quickly learn how to make a classic subject look more intentional.
Here’s what you can expect to work on during that stop:
- how to line up strong bridge and river lines
- where to stand so the background doesn’t turn into visual clutter
- how to use your phone’s framing to keep the scene balanced
Liberty Bridge is also great for learning timing. If you’re shooting handheld, small movements matter. Even if your phone isn’t doing anything fancy, you can get a sharper, cleaner image just by stabilizing your stance and choosing a simpler composition.
A practical note: since you’ll be stopping and shooting on cue, do arrive ready to walk. Your best shots often come right after the guide suggests the exact angle.
Central Market Hall area: texture, color, and street-level drama
Next up is Central Market Hall of Budapest for another 20 minutes. Even if you don’t plan to go inside, the hall area offers plenty of photographic material: facade textures, signage, and the kind of everyday motion that makes street photos feel alive.
During this portion, you’ll practice turning a busy location into something readable. That means choosing what the viewer’s eye should land on first. For smartphone photography, that often comes down to simple composition choices:
- keeping the most important element near the center or a strong side line
- separating foreground from background so the image doesn’t feel flat
- adjusting your position to avoid messy intersections behind your subject
If you’re the type who likes photographing details, this stop can be a win because markets naturally create close-up opportunities. If you prefer portraits, you’ll likely be encouraged to think about light and background separation so your subject stands out.
More Budapest ideas for the space still left in the itinerary
- Budapest Danube Cruise with Drink, Audio Guide, Margaret Island
★ 4.5 · 1,036 reviews - Budapest: Danube River Sightseeing Cruise with Audio Guide
★ 4.1 · 1,002 reviews - Parliament Tour in Budapest with Audio Guide
★ 4.0 · 814 reviews - Budapest River Cruise with 1 Free Tokaj Frizzante and Audio Guide
★ 4.5 · 473 reviews - Budapest Paddle Steamer Danube Cruise with Tokaj & Audio Guide
★ 4.5 · 338 reviews
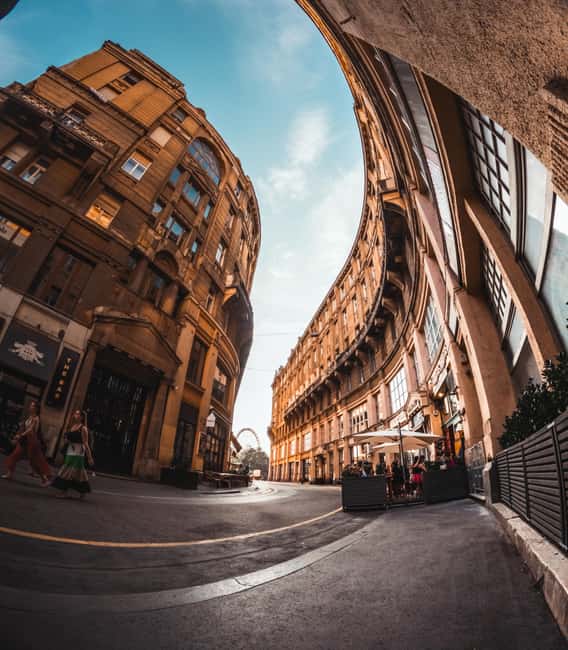
Kalvin Square: using corners and geometry for stronger street frames
Your route then moves to Kalvin Square, with a 20-minute photo stop. Squares are great training ground because there’s usually a clear “structure” to work with: building corners, street lines, and repeating shapes.
What makes Kalvin Square particularly useful for learning street photography is that you can experiment quickly. Stand one step left, and the whole frame changes. Step forward or back, and the lines either start guiding your eye or start fighting each other.
Expect the guide to connect composition decisions to real results. You’re not just taking photos, you’re learning why one angle works and another feels messy.
If you tend to photograph the obvious wide view, this stop can teach you to slow down and look for the graphic parts of the scene, the ones that make your phone shots feel like you planned them.
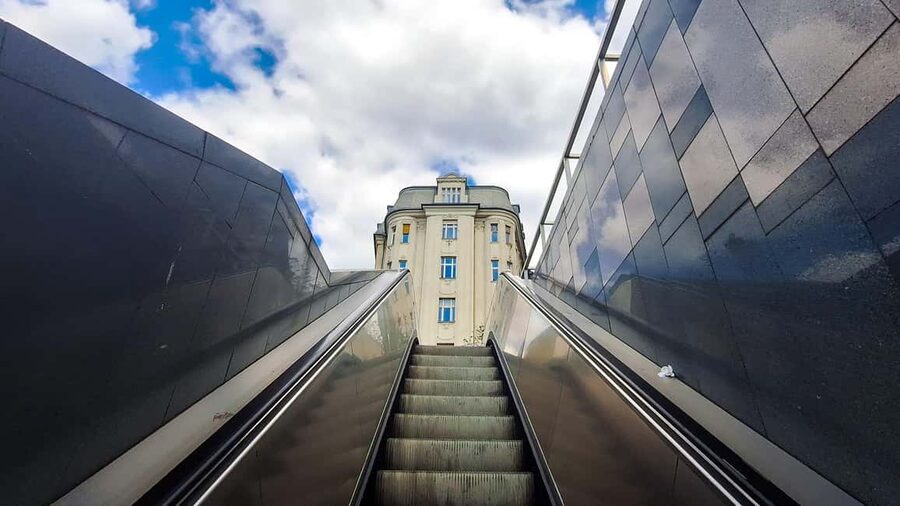
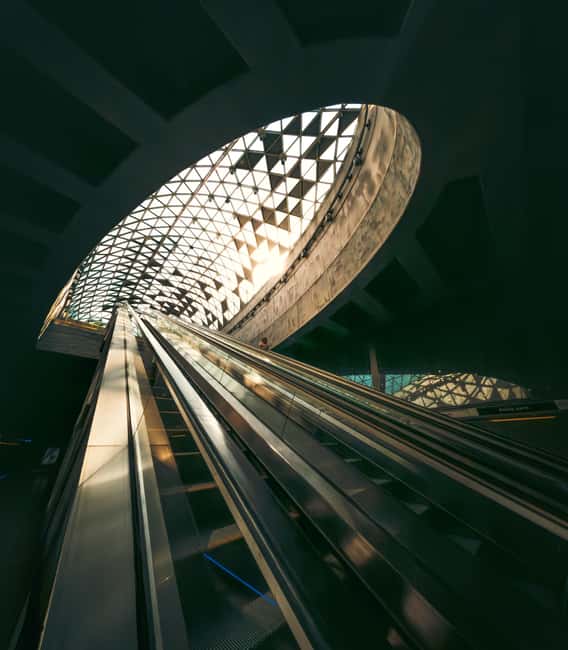
The short subway/metro moment: light and motion tricks
There’s a subway or metro segment listed for about 10 minutes. This part is short, so think of it as a concentrated lesson in shooting in harder conditions rather than a full transit experience.
Even without extra time, transit areas give you:
- mixed lighting (bright entrances, shadowed corners)
- quick motion (people moving through frame)
- strong vertical and overhead lines
This is a good moment to practice staying calm. When you’re rushing, it’s easy to use a blurry, random angle. Instead, you can aim for simple compositions where the subject is clear even if the environment is busy.
If you’re hoping to photograph only monuments, this stop might feel different. But it’s also where your smartphone skills level up fast, because transit forces you to make smart choices quickly.
Bikás Park: a breather for calmer photos and better pacing
Finally, you’ll head to Bikás Park for a 20-minute photo stop before returning to Fővám tér 5. Parks add variety, and that variety is useful. After city squares and busy transit areas, green spaces and quieter streets help you practice portraits and softer compositions.
This is often the part where people start feeling more confident. You’ve already learned how to frame at bridges and architectural areas, and now you can focus on mood. You might also be able to test different photo styles, like shooting at eye level for a documentary look versus using background lines for a more graphic effect.
If you’re traveling with a friend or partner, this is also a good stop for easier, natural shots. You can relax a bit, take time with your framing, and let the scene feel less “rushed.”
Drone photos and footage: seeing Budapest from above
One of the highlights is the drone work. A professional will snap photos of you using a drone, and you’ll later be able to marvel at drone footage showing yourself along with the main sights of Budapest.
This changes the whole value of the tour, because most smartphone walks only teach what you can get from your own eye level. Drone imagery gives you a different visual story:
- you get a wider sense of where you were standing
- your photos feel more like a journey than a scattered set of shots
- Budapest’s big shapes, river edges, and streets can read better from above
Important reality check: drone output depends on conditions, and this tour is flexible with starting time based on weather. So if you’re booking for a very specific date and you’re obsessed with perfect drone conditions, keep an open mind. Still, the tour is clearly structured to incorporate the drone as a core part, not an afterthought.
How Luigi helps your smartphone look better immediately
The tour is built around practical instruction while you’re actually walking and shooting. The goal isn’t to flood you with camera jargon. It’s to make you faster at what matters.
From the way Luigi teaches, you can expect composition-focused guidance like:
- choosing framing before pressing the shutter
- using angles that make the scene feel intentional
- practicing light and subject placement so your phone’s results look sharper and more professional
A standout theme in the feedback is that even people new to smartphones can keep up. Luigi’s approach is patient, with help that works whether you have a basic phone camera or a more advanced one.
If you want a simple mindset shift, use this: don’t only look for a famous sight. Look for a photo. Sometimes that means moving two steps to the left to clean up the background.
Editing with the free Lightroom app at the end
After the walking and shooting stops, you’ll get tricks for editing right on your phone using the free Lightroom app. This is where a lot of tours quietly fail, because they teach you how to take photos but leave you alone with the results.
Here, the tour closes the loop. You’ll learn how to take what you captured and make it look consistent. That typically means:
- adjusting exposure so your subject isn’t too dark or too bright
- refining color and contrast so the scene feels closer to what you saw
- applying simple edits that don’t destroy the natural look
Even if you’re not an advanced editor, learning a few repeatable moves can turn your photos from one-off snapshots into a set that looks like a coherent story from a single day in Budapest.
Price value check: is $16 worth your time?
At $16 per person for a 1-day outing, the value is strong if you care about results, not just wandering. Here’s why it feels like a good deal:
- you get structured photo instruction during the walk, so you’re not guessing
- you get specific photo stops with guidance, which saves time on your own route planning
- the drone component adds a level of visual output most smartphone tours don’t include
- you leave with photos on your smartphone and editing tips using the free Lightroom app
The one cost reality to keep in mind is what’s not included: entry tickets to landmarks. That doesn’t mean you won’t photograph big sights, but it does mean you should not assume you’ll be stepping into ticketed interiors during the day.
If your goal is to take better smartphone photos and come home with more than a handful of decent pictures, this price is easy to justify.
What to watch out for before you book
This is a photo-focused walking tour, so set expectations accordingly:
- You’ll be moving between several stops, with about 10 minutes at the metro segment and around 20 minutes at each main photo point.
- You’ll shoot with direction, which is great for learning, but it means you’re not free-floating at every minute.
- Weather matters. The starting time is agreed based on conditions, so plan for a schedule that can adjust slightly.
If you’re the type who prefers long museum time or ticketed landmark entry, you might want a different kind of tour. This one is about teaching you how to see and shoot, on the street.
Who this Budapest smartphone photo tour fits best
This is a great match if you:
- want real guidance on smartphone photography, especially composition
- enjoy street-level Budapest details, not only postcard views
- like the idea of getting drone shots that add a whole new perspective
- want a friendly, patient guide like Luigi Cantel who helps beginners feel comfortable
It can also be useful if you’ve used your phone camera for years but feel your images never look quite right. The editing lesson at the end gives you a practical next step, not just a memory.
If you already have strong photography skills and you want highly technical camera work, you might find the approach more approachable than advanced. Still, strong composition habits and quick editing workflows help almost everyone.
Should you book it? My practical recommendation
Book this tour if you want a day in Budapest that produces photos you’re proud to share. The combination of guided street shooting, drone output, and Lightroom editing tips makes it more “complete” than a typical walking tour.
Consider skipping or pairing it with another plan if you specifically want lots of indoor time or landmark ticket access, because entry tickets aren’t included and the schedule is built around photo stops.
If you’re on your first trip to Budapest, or you want to return with better photos the second time, this is a smart use of a day. You’ll learn how to see the city like a photographer, and you’ll come home with a set that actually looks like you knew where the camera should go.
FAQ
How long is the tour?
The experience is listed as 1 day, with a route that includes multiple photo stops and a short metro segment.
How much does it cost?
It costs $16 per person.
Where does the tour meet?
You meet at Fővám tér 5, in front of Starbucks (Budapest, 1056).
Is this tour for smartphone photography?
Yes. The tour focuses on street photography with your smartphone.
Does the tour include drone photos or drone footage?
Yes. A professional will take drone photos of you, and you’ll also see drone footage of your experience showing the main sights of Budapest.
Are entry tickets to landmarks included?
No. Entry tickets to landmarks are not included.
What’s included at the end of the experience?
You’ll have the photos on your smartphone, and you’ll be shown how to edit them using the free Lightroom app.
What languages is the tour offered in?
The provided information does not list specific tour languages.
Is the tour wheelchair accessible and private?
Yes. It’s listed as wheelchair accessible and as a private group. Small groups are preferred, and solo travelers are fine.
More Tours in Budapest



More Budapest Photo Routes

More Tour Reviews in Budapest



Recently added around Budapest


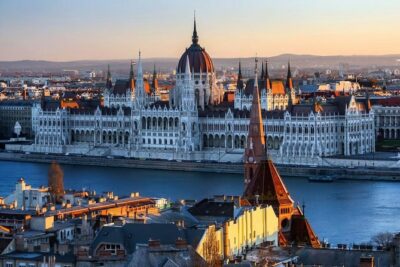
Budapest Photography Tours, compared.
 ★ 5.0Private photography photo session at Fisherman BastionFrom $45269 reviews
 ★ 5.0Budapest photoshoot&sightseeingFrom $114107 reviews
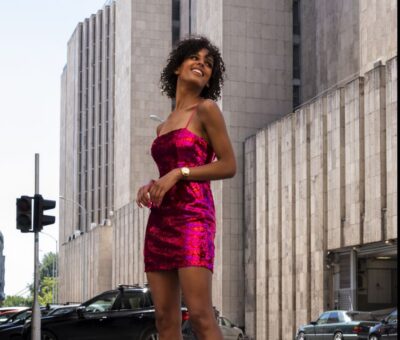 ★ 4.7Walking Tour and Photoshoot with Digital PhotosFrom $7782 reviews
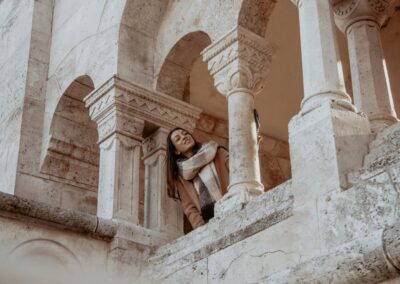 ★ 5.0Vacation Photographer to collect great memoriesFrom $11849 reviews
 ★ 5.0Budapest Private Guided Tour with Photoshoot – Big(3hrs)From $12633 reviews
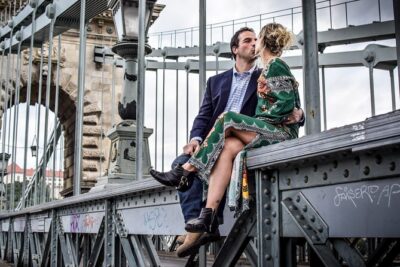 ★ 5.0Vacation Photographer in Budapest at Fisherman’s BastionFrom $11122 reviews
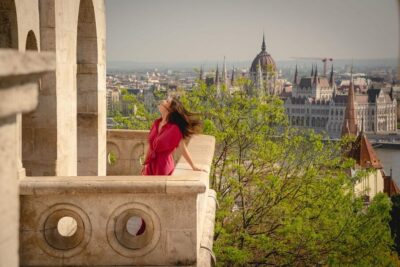 ★ 5.0Fast Private Photoshoot at Fisherman’s BastionFrom $8814 reviews
a video souvenir of your tripFrom $5713 reviews
★ 5.0Fast Private Photoshoot at Fisherman’s BastionFrom $8814 reviews
a video souvenir of your tripFrom $5713 reviews
Browse the lists this tour appears in